Schedule New Sessions
Schedule a new Session by submitting the Request Session from the Dashboard or Sessions page. Once you submit your request, a Prevail representative will contact you within 24 hours to confirm your Session.
You can also email your Session request to Scheduling@prevail.ai. Please include the date, time, and type of proceeding and attach a copy of the notice or pleading.
Organizations with Self-Service Scheduling enabled can directly schedule sessions from the Prevail Platform or the Prevail API.
Request Session Form
Notice(s)
Upload a deposition notice or a relevant proceeding. Accepted document formats are PDF, DOCX, and DOC.
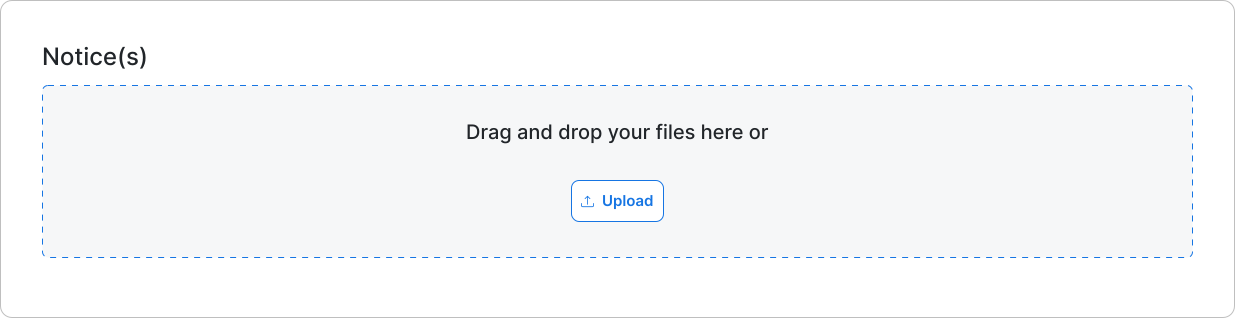
- Upload one or more files...
- Drag and drop a file into the box.
- Click Upload, then select your file(s).
Requesting Party
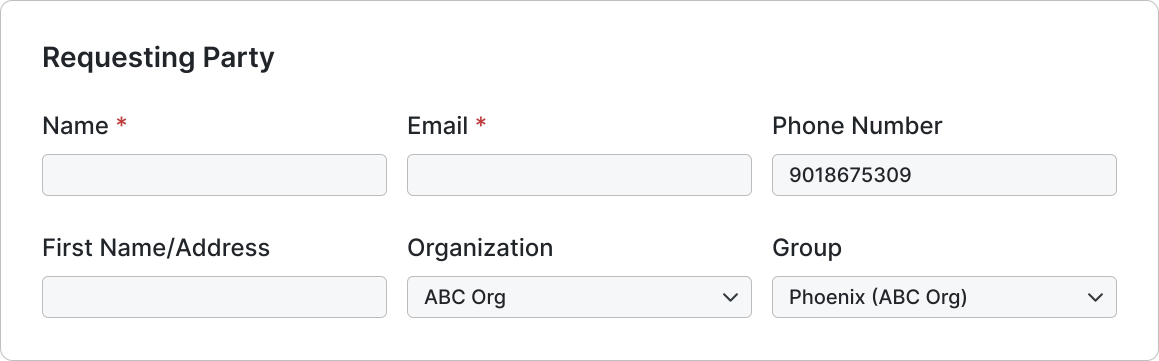
- In the Name * box, type the requesting party's name.
- In the Email * box, type the requesting party's email address.
- In the Phone Number box, type the requesting party's phone number.
Use 10 digits, without dashes or spaces (area code + phone number).
- To include the requesting party's information, in the Firm Name/Address box, type the name and address of the firm.
- If you are an Organization user...
- In the Select Organization drop-down, select one or more of your Organizations.
The requested Session is only available to the selected Organization(s).
- Optional: In the Select Groups drop-down, select one or more Organization Groups.
Groups display for only the selected Organization(s).
- In the Select Organization drop-down, select one or more of your Organizations.
Session Details
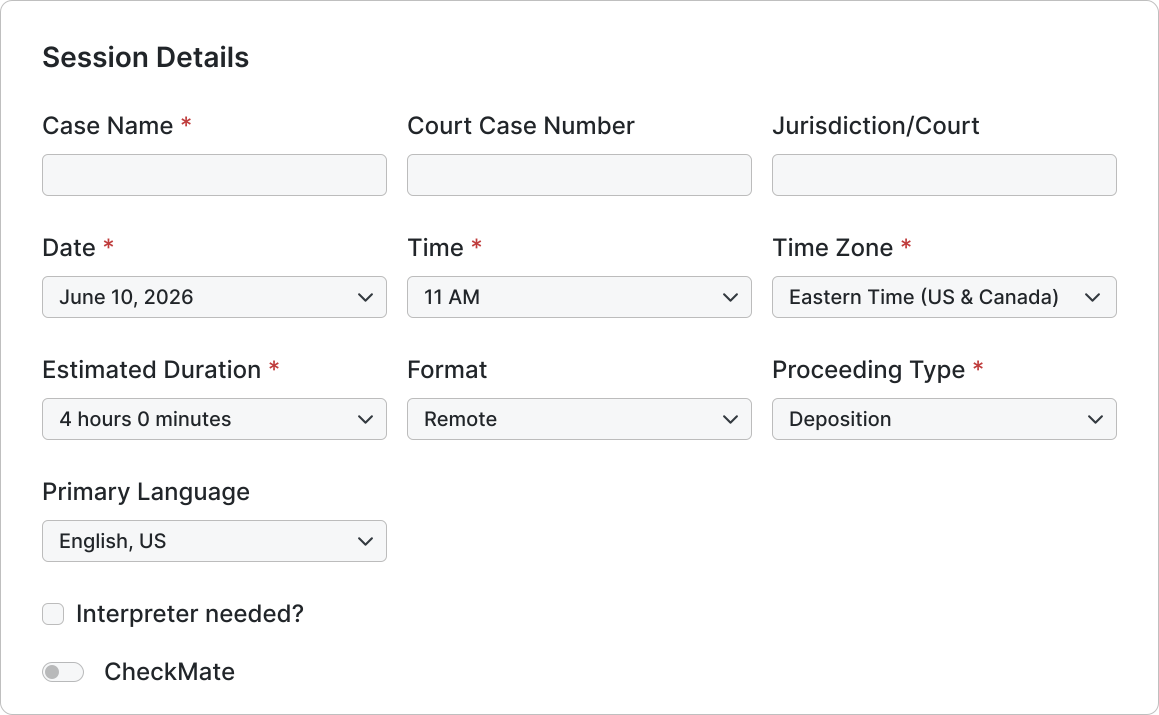
- In the Case Name * box, type the name of the court case.
If the case name is unknown, type "TBD."
- In the Court Case Number box, type the number of the court case.
- In the Jurisdiction/Court box, type the jurisdiction or court where the case is filed.
- In the Estimated Duration * drop-down, select the estimated duration of the Session.
- In the Format drop-down, select the Session format.
- In the Proceeding Type * drop-down, select the type of proceeding.
- In the Primary Language drop-down, select the primary language that will be spoken in the Session.
- If an language interpreter is required...
- Select Interpreter needed?.
A language selection drop-down menu appears.
- In the Please make a selection drop-down, select all the languages to be interpreted.
- Select Interpreter needed?.
- Optional: To enable Prevail CheckMate for the Session, select CheckMate.
Additional fees apply.
Session Format
Session Format specifies whether the Session is conducted remotely, in person, or as a combination of both. Select the format that matches how participants will attend.
| Format | Description |
|---|---|
| Remote | All participants attend online. |
| In Person | All participants attend at a physical location. |
| Hybrid | Participants attend both online and in person. |
Participants
Add names and details for all participants who will attend the session. First add the witness and deponent, then add additional participants
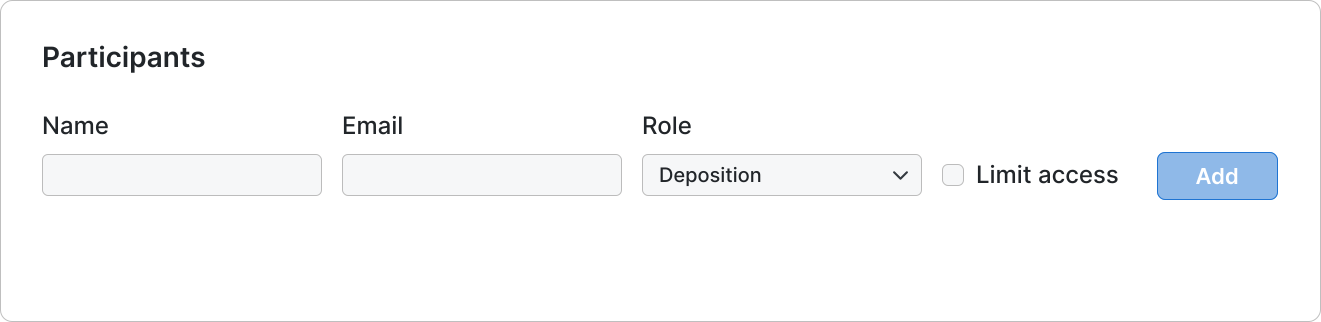
- In the Name box, type a participant's first and last name.
- In the Email box, type the participant's email address.
- In the Role drop-down, select a participant role.
Once you add the witness and deponent, additional session roles are available from the Role drop-down.
- Optional: To assign the Limited participant role, select Limit access.
- Optional: Add additional Participants, click Add.
Additional Details
Provide optional case and matter information for the Session.
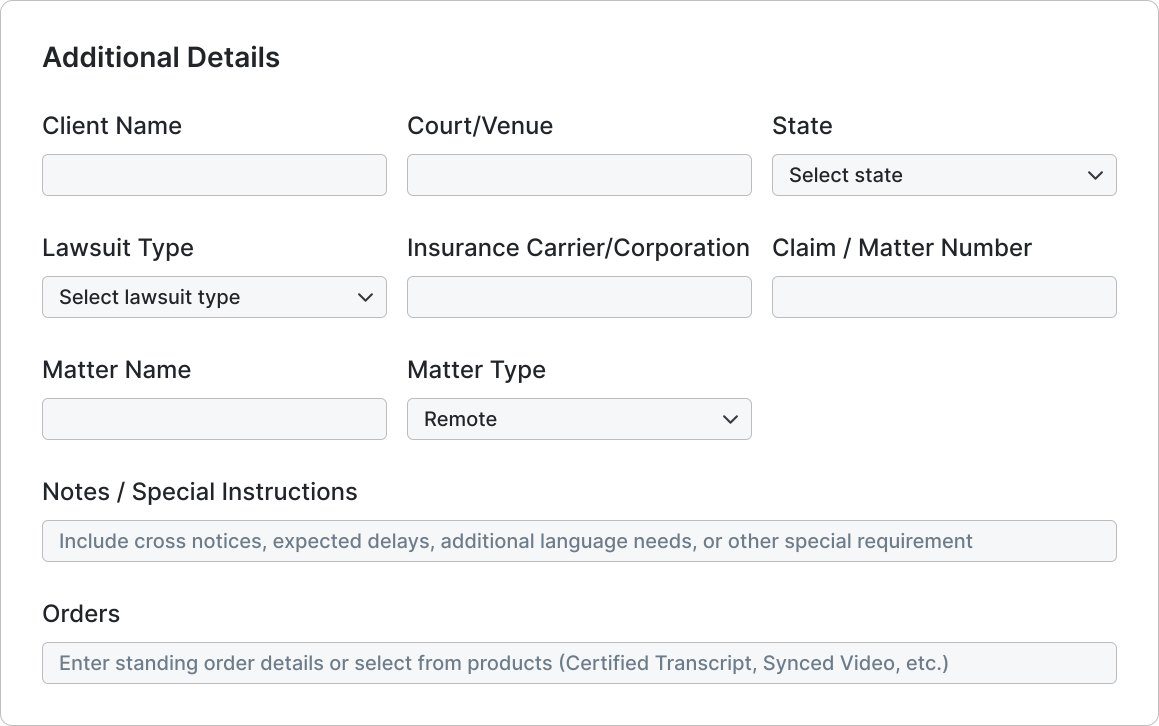
- In the Client Name box, type the client's name.
- In the Court/Venue box, type the name of the court.
- In the State drop-down, select the state where the court is located.
- In the Lawsuit Type drop-down, select the type of lawsuit the proceeding is part of.
- In the Insurance Carrier/Corporation box, type the insurance carrier or corporation.
- In the Claim / Matter Number box, type the claim or matter number.
Use the claim/matter number to identify the matter for your own internal tracking.
- In the Matter Name box, type the matter name.
Use the matter name to identify the matter for your own internal tracking.
- In the Matter Type drop-down, select the matter type.
Use the matter type to categorize the matter for your own internal tracking.
- In the Notes / Special Instructions box, type any additional requirements for the session or information for the Prevail Scheduling team.
- If you would like to order a certified transcript or other transcript format, type your request in the Orders box.
Enhanced Session Security
Enhanced Session Security (ESS) is a suite of features that protect Session data and control participant access.
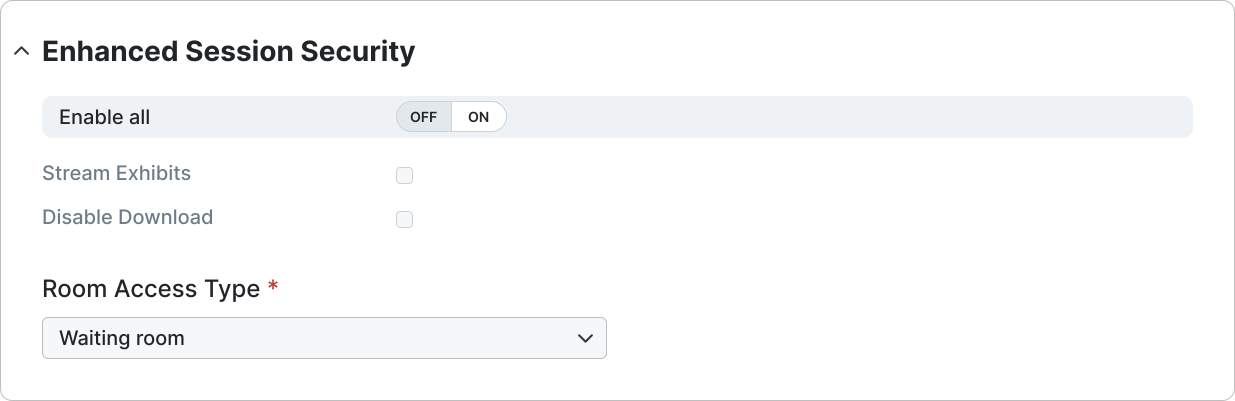
Stream Exhibits
Prevail Sessions use standard file sharing by default, which processes files locally on each participant’s device. Server-Side file sharing provides enhanced security by processing files on Prevail’s secure servers. When Server-Side sharing is enabled, large files load instantly.
To enable Server-Side file sharing, select Stream Exhibits.
Disable Download
Prevail Sessions allow participants to download Shared Session Exhibits by default, both during live Sessions and from the Prevail Briefcase. When this option is selected, participants can view but are unable to download Shared Session Exhibits during live Sessions and from the Prevail Briefcase. When downloads are disabled, all Shared files remain available for download in Session Review.
To disable file downloads, select Disable Download.
Room Access Type
Room Access Type determines how participants enter the Session after following the Session link.
| Access Type | Description | Details |
|---|---|---|
| Waiting room | Invited participants join directly, while uninvited participants and Guests wait to be admitted |
|
| Locked | Only the Host or the person who scheduled the Session can join |
|
| Open | Anyone who follows the Session link joins directly |
|
| Forced waiting room | Every participant waits to be admitted, whether or not they were invited |
|
Waiting Room
When participants follow the Session link, they arrive at the Session sign-in page where they submit their information and wait to be admitted. A Host reviews each participant’s information and admits them individually once their identity has been verified.
Standard Waiting Room
Invited Members who are logged in join the Session directly when they follow the Session link. Uninvited participants submit their information on the Session sign-in page and wait to be admitted.
Forced Waiting Room
Each participant waits on the Session sign-in page to be admitted. Only Hosts and Prevail Staff can join directly.